Landscape Fabric Installation Guide
Why Install Landscape Fabric
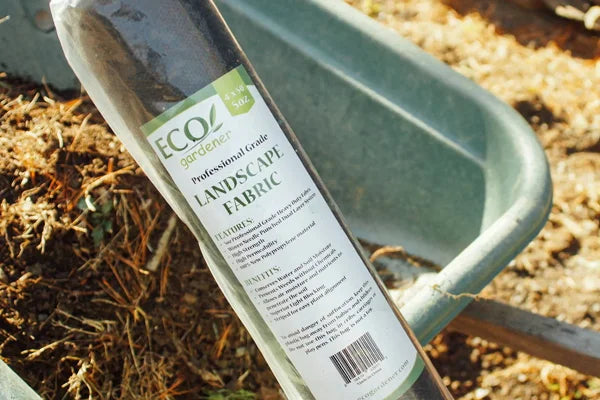
Landscape fabric is an easy solution that will increase the longevity of any garden installation, path, driveway, rubber lined ponds, or any area you want to keep weeds away from. Using landscape fabric will save you time, money, and material.
When laying new surface material, or making new installation it is crucial to install landscape fabric, to protect your investment. Surface material is any material that will be added on top of the fabric, stone, gravel, mulch, etc. Not only does landscape fabric prevent weeds from entering the garden, it also keeps rocks and stones from sinking into the earth, which can happen in a matter of only a year or two.
Landscape fabric is a simple solution that:
- Increases moisture retention
- Kills weeds without chemicals
- Protects surface materials
- Preserves paths, walk ways, and landscapes
- Saves maintenance time
- Prevents holes in rubber lined poinds
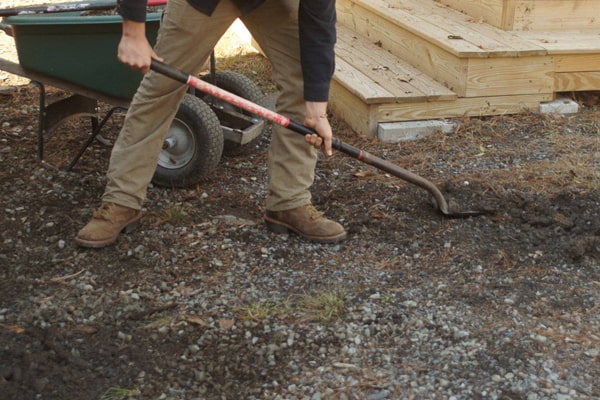
“When laying new surface material, or making new installation it is crucial to install landscape fabric, to protect your investment.”
The stone in this photograph has only been here for one year. As you can see it has already settled into the earth and started to become full of weeds, and dirt. Landscape fabric is an essential tool to preserve your installations.
5 Steps Installing Landscape Fabric
Preparing The Area
Preparing the area properly is perhaps the most important step, and depending on the job may take the longest. Spending time preparing the area before you install landscape fabric will save you time, money and material when it comes time to install the landscape fabric. Doing this part right will ensure an easy application, and preserve the fabric, as well as your project for many years to come.
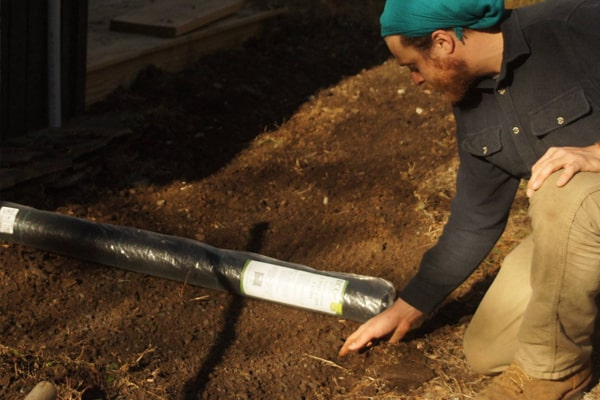
“Spending time preparing the area before you install landscape fabric will save you time, money, and material when it comes time to install the landscape fabric.”
Start with a clean slate
The first step to properly prepare the surface for your project is to start with a clean surface. If necessary use a weed wacker or lawnmower and cut the weeds as low as possible. Then using either a rake or leaf blower clear the area were you will install landscape fabric.
This step will help you establish borders later on, and make the entire process much simpler.
Remove obstacles
After cutting the grass and clearing the area, you will want to quickly get rid of any rocks, sticks, nails, any material that will snag the landscape fabric during install, or cause the fabric to lay unevenly.
Level the area
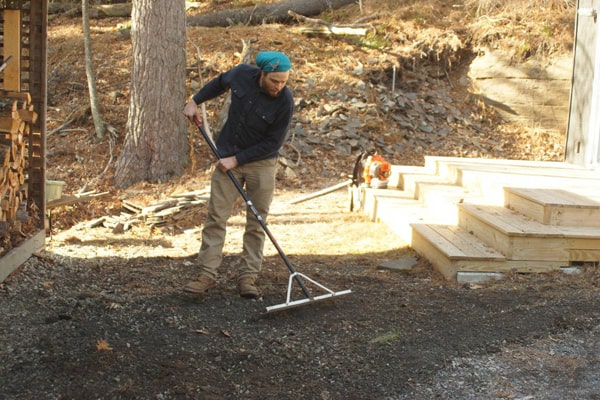
Finally, you will want to be sure the area you are going install landscape fabric on is level. Simply use a hard rake to roughly level the surface and fill any holes. In most applications of landscape fabric you will be adding a surface material. As long as you are using a surface material, and not leaving a bare fabric, the ground only needs to be roughly even. Simply be sure to fill any holes and level the ground to within a few inches. Most projects won't involve much leveling, however be sure it is where you want it to be before fabric application.
If you are not using a surface material leveling of the ground is much more important. Though this is not typically the case, if you are not using surface material be sure the ground is very level, for safety and aesthetics.
Establish the Border
Proper preparation of the area will make it easier to establish a border. There are many kinds of borders that can be used rock walls, inlaid stone, wooden borders, walls, buildings, porches etc.
Some borders can be installed after the fabric has been installed, but you want to be sure you are aware of the border lines before laying the fabric. Finishing the edge is Step 5, but you should get at least a basic idea of what types of borders you are dealing with before laying fabric and material.
Types of borders
There are two kinds of borders when using surface material; constructed borders and natural borders. If you plan on leaving no surface material, such as greenhouse applications, skip this step.
Constructed borders
Buildings, walls, fences, and porches are constructed borders, these solid, predetermined borders, in most circumstances need no extra preparation. With these borders you can either tuck the material under, or simply add surface material up to the edge.
Natural borders
Natural borders will require a little more finesse. These are borders that typically end in the middle of a yard, but include any surface that is level to the ground you plan to install landscape fabric such as drive ways, garden beds, or any border without a clear edge.
The simplest way to establish a natural border is to use a shovel, and cut the lines of your border. Once you have cut the edge, remove a few inches of soil the width of the shovel along the edge. It is only necessary to remove 2- 3 inches along the edge. Doing this will not only keep the ground level it is an easy way to bury the edge of the fabric into the ground. This technique is used for all types of installations including garden beds, paths, and stone scapes.
This step is necessary in any situation you will be adding a surface material, whether you use fabric or not. It will prevent material from floating into your yard or spaces it is not wanted, and provide a smooth transition.
Alternatively use an inlaid stone, wooden, or an “e-z border” which is a raised plastic border.
Laying Out The Fabric
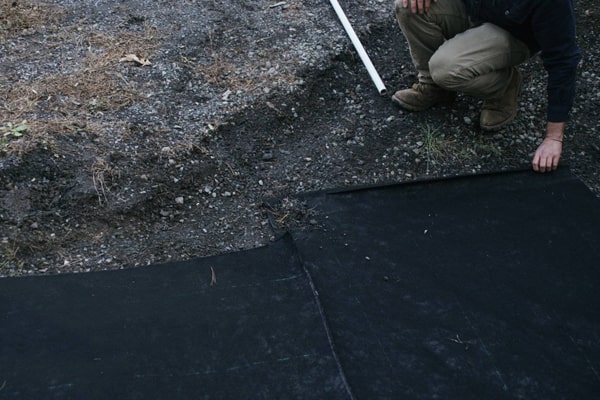
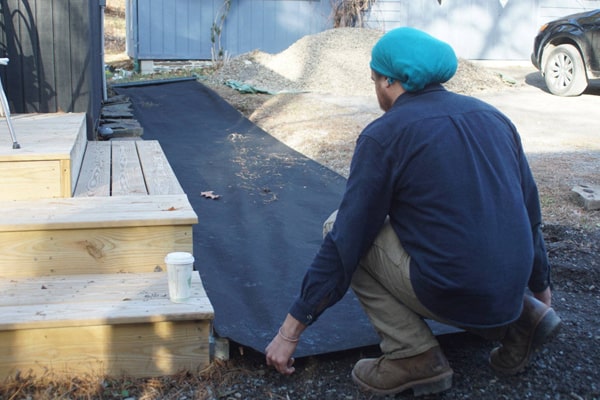
This is the easiest step to install landscape fabric. As long as you have made proper preparations, leveled the ground, and established borders this step will take minutes. Simply lay the fabric out, fuzzy side down and shiny side up, over the prepared area. Go flush with the constructed borders, and lay the fabric overlapping the natural borders. Installing landscape fabric couldn't be simpler and EcoGardner even provides lines to assist you line the fabric up. There really isn't anything beyond laying the fabric across the area you want to cover, overlapping the fabric 4 to 6 inches. Try to keep in mind the direction the fabric is overlapping, and how the material will act when spread.
It is unnecessary, in most circumstances to cut the fabric while you are laying it. Just lay it out so that the fabric overlaps the edges of your borders, and cut after spreading the surface material.
Using Staples
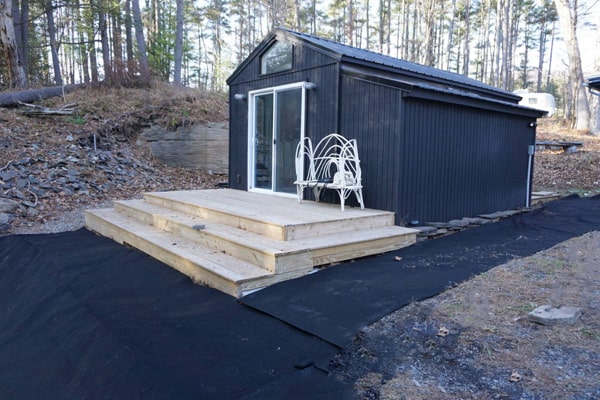
Depending on your application fabric staples may be necessary. If you are not using surface material for example in greenhouses, or paths in gardens, staples are a requirement.
EcoGardener's fabric is very heavy duty, and may not require staples. Using staples however may make the installation easier by helping to keep the material in place while you are laying it out and spreading the surface material.
Preparing for plants
If you are using fabric for a garden bed install, simply estimate the size of the root ball and cut a circle the diameter that is needed. When using a razor, simply cut a circle around the root ball, if you are using scissors cut an X in middle and cut out the circle. Dig the hole and put in the plant.
Spread Your Material
Once you have laid out the fabric, you are ready to spread your material. Although there are many ways to do this, it may be easiest to start at the edge closest to your material pile.
Start dumping piles at the edge closest to the pile. After every few piles dumped on the edge, spread out your surface material. Using this technique creates a bridge out of the surface material, which prevents fabric shifting or tearing. Be aware of wrinkles in the fabric that may stick through the material, be sure to smooth them out while spreading the surface material.
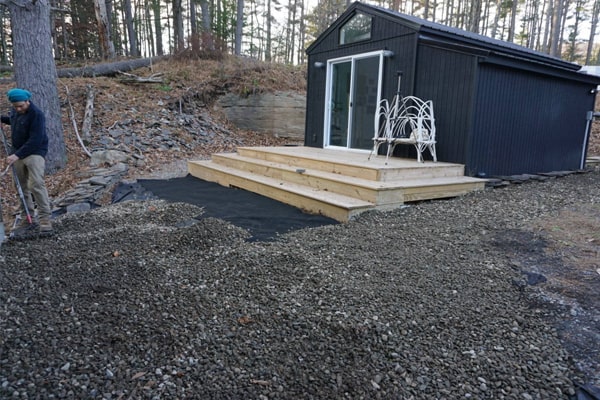
Once the material is spread, take a moment to spread it evenly with a rake.
If the fabric shifts while laying down material, simply pull the material back in place. EcoGardener's product is very heavy duty and will handle quite a bit of handling. Of course stapling the fabric would lessen the shifting of the fabric, but this is a personal choice.
Finishing The Edge
This is the final step to install landscape fabric. There are unlimited options for edging your project many of which have already been discussed in Step 2. Though this is typically the last step it is crucial to consider this step before laying fabric and material. Each application will require different procedures.
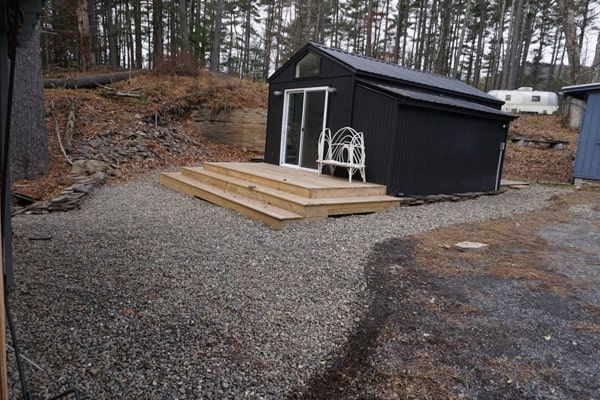
In the photographed project, the border was simply cut into the earth a few inches. The excess fabric was cut, and tucked into the edge, then buried with the stone material. The edge against the building was flushed against the porch and tucked under the rock walls.
Though there are many options for borders and walls, simply burying the fabric edge an inch or two into the earth is sufficient for almost all applications.
Watch the video to see our Landscape Fabric in action.
Final Thoughts
Installing landscape fabric is essential to preserving many styles of gardens and landscapes. Taking the time to install landscape fabric can save your investment in material, help your plants return moisture, eliminate weeds, and save you hours of labor when it comes to maintaining your new project.
Why Choose ECOGardner?
ECOGardener's professional grade landscape fabric, is a 2 layered extensively engineered material which can preserve your projects for many years to come. Taking the simple steps above to install landscape fabric will make you happy for many, many years to come. ECOGardener's landscape fabric is a leap beyond it's competitors, and will last for many years longer than alternatice avaiable in Box Box stores. Better yet, because you can buy direct from the manufacturer, you are able to get it delivered to your door at a price that is the same if not cheaper than far inferior products.
Eco Gardener's landscape fabric is an Industry Standard setting 5oz needle punched double layer of Woven and Non-Woven Fabric that gives your the durability needed for even the most challenging applications while providing superior drainage.
Try ECOgardener Landscape Fabric today!