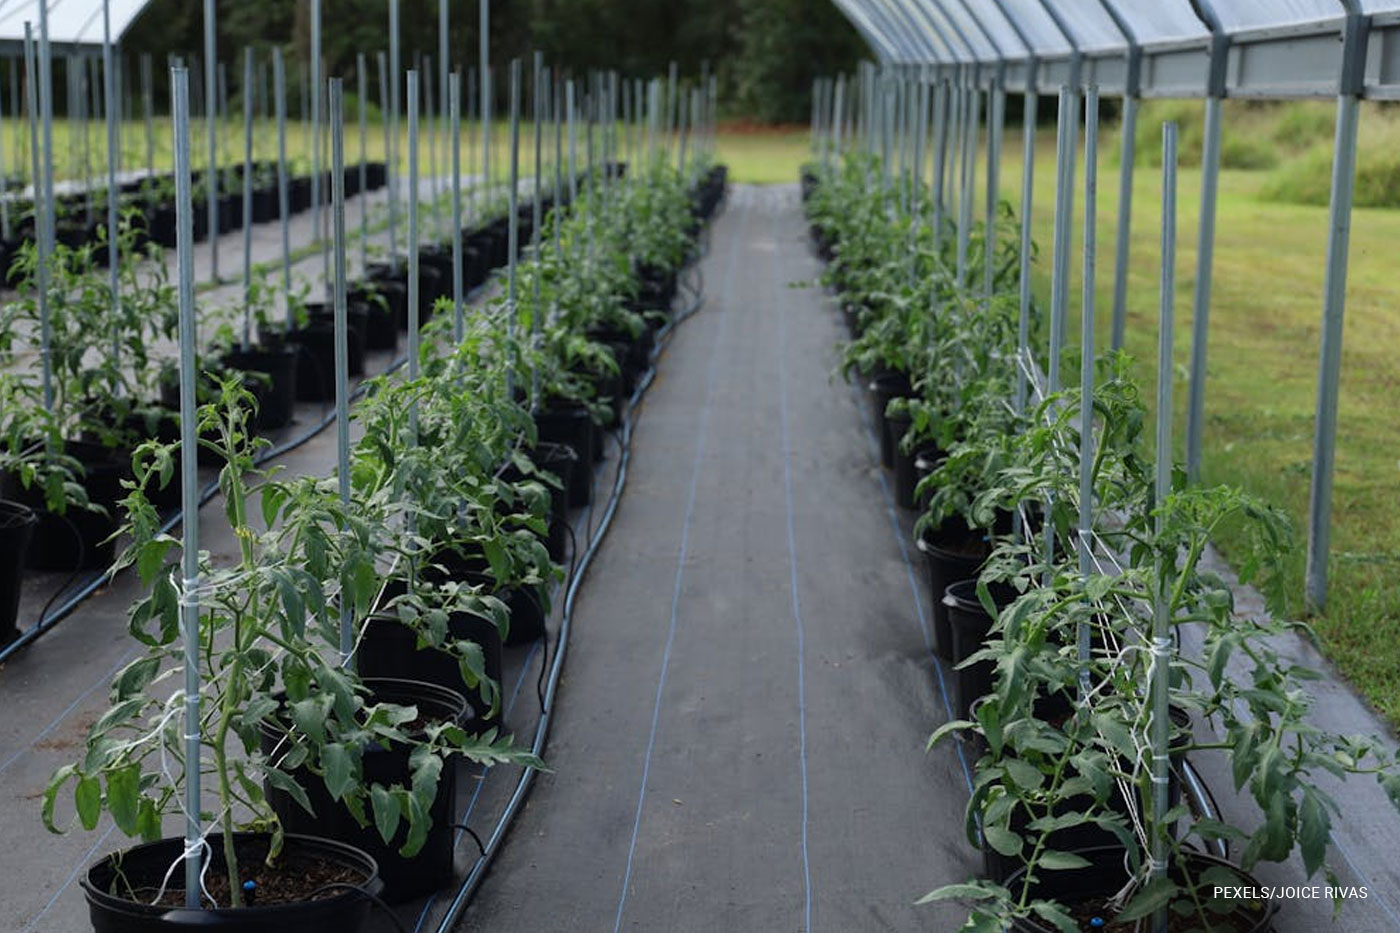
Landscape fabric is a popular solution for suppressing weeds, conserving soil moisture, and maintaining a neat, low-maintenance garden or landscaping area. But many DIYers run into the same issue—after a few days or weeks, the fabric starts to shift, tear, or bunch up, reducing its effectiveness and making your project look messy.
The key to long-lasting success with landscape fabric lies in proper installation and secure anchoring. Whether you’re using it under mulch, gravel, or raised beds, here’s everything you need to know to keep your landscape fabric in place and performing as intended.
Contents []
Why Landscape Fabric Shifts or Tears

Before jumping into how to secure it, let’s understand why landscape fabric often fails:
- Insufficient anchoring (too few pins or staples)
- Using the wrong type of anchor for the soil
- Heavy foot traffic or pet activity
- Wind lifting the edges or corners
- Tension created by plant growth or erosion
- Improper overlap or cuts that weaken the fabric
The good news? With the right tools and a little preparation, you can avoid all of these issues.
Step 1: Choose a Durable Landscape Fabric

Not all landscape fabric is created equal. Thin, low-grade materials are more prone to tearing and degradation. For best results, choose ECOgardener landscape fabric designed for all types of application (e.g., under gravel paths, garden beds, or decorative mulch).
Tip: Look for UV-resistant fabrics if the material will be exposed to sunlight for long periods.
Step 2: Prepare the Ground Properly
Before laying any fabric, clear the area of debris, sharp rocks, and existing weeds. Then:
- Level the ground as much as possible to prevent pooling or fabric strain.
- Consider adding a thin layer of sand or topsoil to help smooth the surface.
A properly prepared surface makes installation easier and improves the fabric’s performance over time.
Step 3: Lay the Fabric with Overlaps
Unroll the fabric and position it so the edges overlap by at least 6 to 12 inches wherever two pieces meet. This prevents weeds from sneaking through the seams.
- Make sure the fabric lies flat and taut across the surface.
- Use a utility knife or scissors to make clean, strategic cuts for plant holes or edging.
Avoid jagged or loose cuts—these can spread and lead to tearing.
Step 4: Use the Right Anchors — And Use Enough!

One of the most common mistakes is under-securing the fabric. You’ll want to use landscape staples, garden pegs, or stakes designed for your soil type:
- U-shaped landscape staples (6″ to 8″) for loose or sandy soil
- Flat-top pins or spiral pegs for added grip in clay or compacted soil
Anchoring Tips:
- Place anchors every 12 to 18 inches along edges and seams.
- In windy areas, reduce spacing to every 6–12 inches.
- Add extra pins around corners, near plant holes, and in high-traffic areas.
- Drive anchors in at a 45-degree angle for better holding power.
Step 5: Secure the Edges
Don’t leave edges exposed—this is where most shifting begins.
You can secure edges by:
- Burying them under 2–3 inches of soil or mulch
- Placing bricks, stones, or edging material along the perimeter
- Folding the edges under themselves for a double layer of weight and reinforcement
This not only holds the fabric down but also gives the area a cleaner, finished look.
Step 6: Cover with Mulch or Gravel

While landscape fabric can help reduce weed growth, it should not be left exposed. UV rays will degrade even the best materials over time.
Cover the fabric with:
- 2–3 inches of organic mulch (like bark, straw, or wood chips)
- 1–2 inches of decorative stone, gravel, or crushed rock
Be sure not to pile mulch against plant stems, as this can lead to rot or pest issues.
Optional: Reinforce with Staples Over Time
After a few weeks, walk through and inspect the fabric. Add more staples if:
- You notice lifting or bubbles in the surface
- Mulch or gravel has shifted due to rain
- New planting holes have been added
This periodic check can dramatically extend the lifespan of your landscape fabric installation.
Common Mistakes to Avoid
- Skipping ground prep: Uneven surfaces can cause fabric to tear under pressure.
- Too few staples: One staple every 3–4 feet is not enough!
- Using the wrong staple type: U-shaped pins don’t work well in hard, dry clay.
- Exposing edges: Wind and rain can quickly undo your hard work.
- Leaving fabric uncovered: Sunlight will destroy it faster than you think.
Use ECOgardener Landscape Staples to Hold the Fabric
When properly secured, landscape fabric can be a powerful ally in your fight against weeds and soil erosion. The secret lies in anchoring it well, covering it thoroughly, and using the right materials for your conditions. By following the steps above, you’ll keep your landscape looking tidy and professional—and save yourself from future headaches.
Ready to get started? Whether you’re prepping a flower bed, veggie patch, or gravel path, investing a little extra time upfront will ensure your landscape fabric stays put and performs for seasons to come.


