
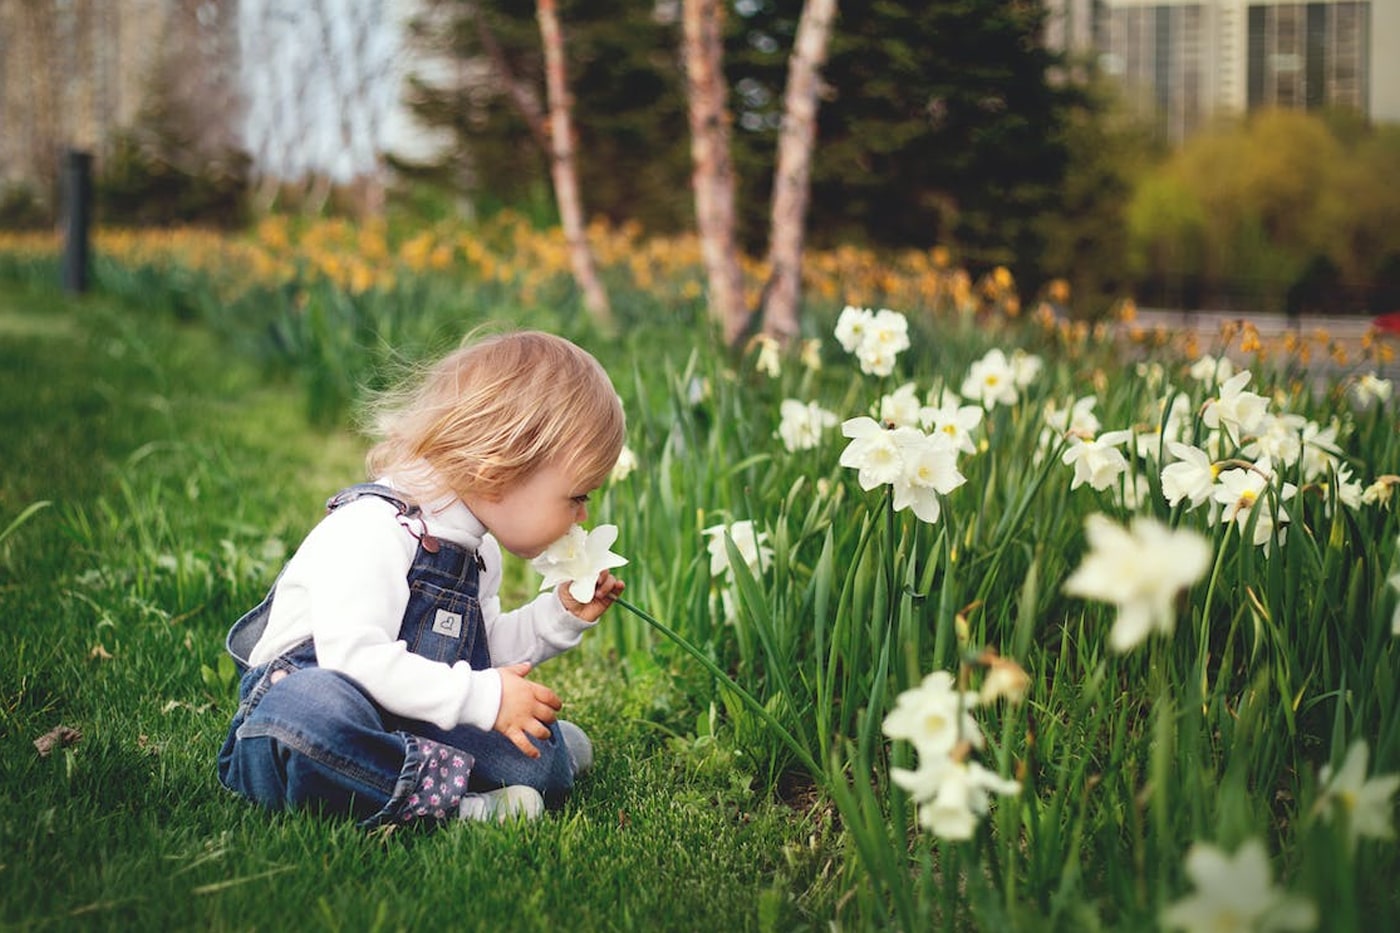
Teaching kids about gardening is a great idea for so many reasons! For one thing, gardening helps connect kids with nature and helps them understand how plants grow. When children learn to plant, water, and watch seeds sprout, they develop a sense of responsibility and care for living things.
Gardening also teaches patience as kids wait for their plants to grow, showing that good things take time. They also discovered how the natural world works, how plants respond to sunlight, and the importance of water to sustain life. This fosters a deeper appreciation for the interconnectedness of all living things and encourages environmental stewardship.
Let’s not forget: gardening is a fantastic way to introduce healthy eating habits. Kids who grow their own fruits and vegetables are more likely to try and enjoy a variety of produce. This early exposure to nutritious foods contributes to a lifelong understanding of the importance of a balanced diet.
Apart from growing your own food, there are many ways to make gardening fun for the whole family! The next time you’re out gardening with the kids, try these awesome spring gardening projects:
Contents []
3 Spring Garden Projects for Kids
Here are three spring garden projects that are fun and educational for kids:
Build a Butterfly Garden

Creating a butterfly garden with kids is a delightful and educational adventure that brings nature to your doorstep. Follow these simple steps to turn your outdoor space into a haven for beautiful butterflies.
Step 1: Choose the Perfect Spot
Start the project by rounding up the kids and choosing the perfect spot for a butterfly garden. Start with a sunny area in your garden where butterflies can soak up the warmth they love. Butterflies are like little sun-worshippers, so the more sunshine, the better.
Butterflies also enjoy moist soil. Ensure your garden has well-draining soil to keep their feet happy. Adding compost or organic matter helps create a cozy home for plants.
Finally, be sure water is accessible in this area. Butterflies need water, and a shallow dish filled with pebbles and water can serve as a perfect butterfly water station. Just make sure the water isn’t too deep to keep them safe.
Step 2: Arranging the Gardening Installations and Decors
Butterflies are drawn to bright colors, so choose various vibrant flowers to make your garden irresistibly attractive to them. Start by arranging flowers and plants in clusters rather than spreading them out.
Opt for plants that attract butterflies. Brightly colored flowers like zinnias, marigolds, and daisies are favorites. Also, include plants like milkweed, which caterpillars adore. Butterflies prefer sipping nectar from one flower to another, so grouping them makes it easier for our fluttery friends to feast.
Say no to pesticides! Butterflies are sensitive, and chemicals can harm them. Instead, encourage natural predators like ladybugs to keep unwanted pests away.
Make a simple butterfly feeder by mixing sugar and water (10:1 ratio) and placing it in a shallow dish. This sweet treat will attract butterflies for a closer look.
Butterflies love to bask in the sun. Place flat rocks in your garden where they can rest and warm their wings. It’s like creating a mini-spa for butterflies!
Step 3: Add a Cozy Space for Butterfly-watching
Set up a cozy spot for your kids to observe and learn about the butterflies. A bench or picnic blanket nearby makes it a perfect place for butterfly-watching. You can add books to help kids identify different butterfly species, binoculars, and containers for sugar water to attract more butterflies while observing the ones fleeting by the garden.
Creating a butterfly garden with kids is not just about plants; it’s a magical journey that introduces them to the wonders of nature. As they witness the life cycle of butterflies, they’ll develop a deep appreciation for the delicate balance of our natural world.
Safety Tips
- Teach them to be gentle with plants and creatures, reminding them not to touch or disturb butterflies, caterpillars, or other insects.
- Emphasize the importance of handwashing after gardening to prevent the spread of germs.
- Ensure that gardening tools are age-appropriate, with rounded edges and proper supervision.
- Teach children not to put plants, seeds, or any garden materials in their mouths to avoid accidental ingestion.
- Select non-toxic plants for the garden to ensure it’s a safe environment.
- Be cautious of any potential hazards in the garden area, like uneven surfaces or sharp objects.
- Encourage the use of sunscreen and hats to protect against the sun.
Create a Fairy Garden

Creating a fairy garden is a delightful way to engage kids in gardening while fostering creativity. It’s a magical space where imagination blooms alongside the plants. As children tend to their fairy garden, they learn about gardening and explore the wonderful world of make-believe.
Step 1: Gather the Supplies
It pays to prepare everything you’ll need to create a fairy garden with the kids. Collect supplies like containers or pots with bright colors. Get small rocks, pebbles, and miniature plants. You can also add tiny decorations like fairies, tiny houses, or little animals.
Prepare all the tools for repotting, planting in-ground, and installing the fairy decors. Trowels, rakes, plant scissors, and hand pruners will be your go-to for this project.
Step 2: Choose a Spot for the Fairy Garden
Choose a small corner of your garden or even a large pot for your fairy garden. Select a spot that gets a bit of sunlight but also offers some shade for the fairies to cool off. Then, start preparing the soil for planting.
Fill your container with potting soil. Ensure it’s loose and well-draining, creating a cozy home for your magical garden residents. Choose small plants like succulents, moss, or tiny flowers that create a fairy-sized landscape. Plant them in the soil, leaving enough space for fairy pathways.
Step 3: Assemble the Fairy Garden
Once the planting with the kids has been completed, you can assemble the decors. The decors will add magic to the setting, making it appear that fairies actually live in the garden and fly from one flower to the next.
Place miniature fairy houses, tiny benches, and little decorations to make the garden feel like a fairy village. Get creative with materials like twigs or small stones for DIY fairy furniture. Use small rocks or pebbles to make winding paths throughout the garden. Fairies love to stroll through their magical realm.
If you have space, add a tiny water feature like a small bowl or pond. Fairies enjoy having a place to cool their wings and sip magical water.
Encourage kids to make their own fairy decorations using materials like clay or recycled items. Personal touches make the garden even more special.
Finally, add string fairy lights around the garden for a magical glow. They create a warm, inviting vibe, especially in the evening.
After decorating the garden, you can set up a small, cozy area for playing, relaxing, and reading books with the kids. Encourage kids to use their imagination while playing in the fairy garden. Let them create stories about the fairies and their magical adventures.
Safety Tips
- Choose child-friendly materials, ensuring that decorations and tools have no sharp edges.
- Emphasize the importance of gentle handling to avoid any accidental bumps or falls.
- If using small objects, like pebbles or decorations, remind kids not to put them in their mouths.
- Select non-toxic plants for the fairy garden to ensure a safe environment.
- When incorporating water features, use shallow containers to minimize the risk of accidents.
- Make sure the chosen location for the fairy garden is free from hazards like uneven surfaces.
- Encourage kids to wash their hands after gardening to keep the magic clean and safe.
Build a Birdhouse

Building a birdhouse with kids is a fun and educational project that brings feathered friends to your garden. Follow these simple steps to create a cozy home for birds:
Step 1: Gather All Materials and Tools
Prepare all the materials needed to set up a birdhouse, like a wooden birdhouse kit, wood glue, small nails, a hammer, and non-toxic paint. Ensure the wood is untreated to keep it safe for birds. Don’t forget to wear safety gear like gloves and goggles to protect the eyes and hands while building the birdhouse.
Follow the instructions on the birdhouse kit to assemble the pieces. Apply wood glue to the joints for extra sturdiness. Kids can take turns hammering in the nails with supervision.
Step 2: Assemble the Bird House
Birds need good airflow, so help kids add small ventilation holes near the top of the birdhouse. These holes keep the interior comfortable for feathered residents. Attach a small wooden dowel or twig as a perch just below the entrance hole. Make sure it’s securely fastened to provide a resting spot for birds.
The final step is optional and involves letting the kids paint the birdhouse in any color they like. Use a non-toxic paint to paint the birdhouse and let the kids express their creativity. Encourage them to add decorative touches to make it unique and appealing.
Step 3: Install the Birdhouse
Once the birdhouse’s paint has dried completely, you can go ahead and install it in the desired spot. Pick a safe place in your garden to hang the birdhouse. Make sure it’s away from busy areas, and secure it well to prevent it from falling.
Use a sturdy rope or twine to hang the birdhouse from a tree branch or a hook. Ensure it’s at a height where kids can easily observe bird activity. You can also add some bird-friendly materials nearby, like twigs, leaves, or small pieces of string. These materials help birds build their nests comfortably.
The final touch is to create a space where kids can watch the birds that come into the birdhouse and identify them. Create a seating area and fill this space with bean bags, a low table, plenty of books about different bird species, and binoculars for bird watching.
Encourage kids to observe the birdhouse regularly. Discuss the different bird species that may visit and talk about their behaviors. Teach kids the importance of cleaning the birdhouse annually, preferably after nesting season. This ensures a healthy environment for future bird families.
Safety Tips
- Choose a birdhouse kit with smooth edges to prevent splinters, and use non-toxic materials like child-safe paint.
- Supervise kids while using hammers and nails, ensuring they wear safety goggles for extra protection.
- Keep the work area well-organized to avoid accidents, and teach children to handle tools carefully.
- When choosing a location to hang the birdhouse, ensure it’s at a reachable height for kids and away from busy areas.
- Remind them to be gentle when observing birds and not to disturb nests.
Engaging in fun gardening projects fosters a sense of responsibility as children learn to care for living plants. It provides a hands-on experience that connects them to nature, promoting environmental awareness and appreciation. Ultimately, these projects provide a holistic learning experience that involves creativity and the joy of nurturing life.


