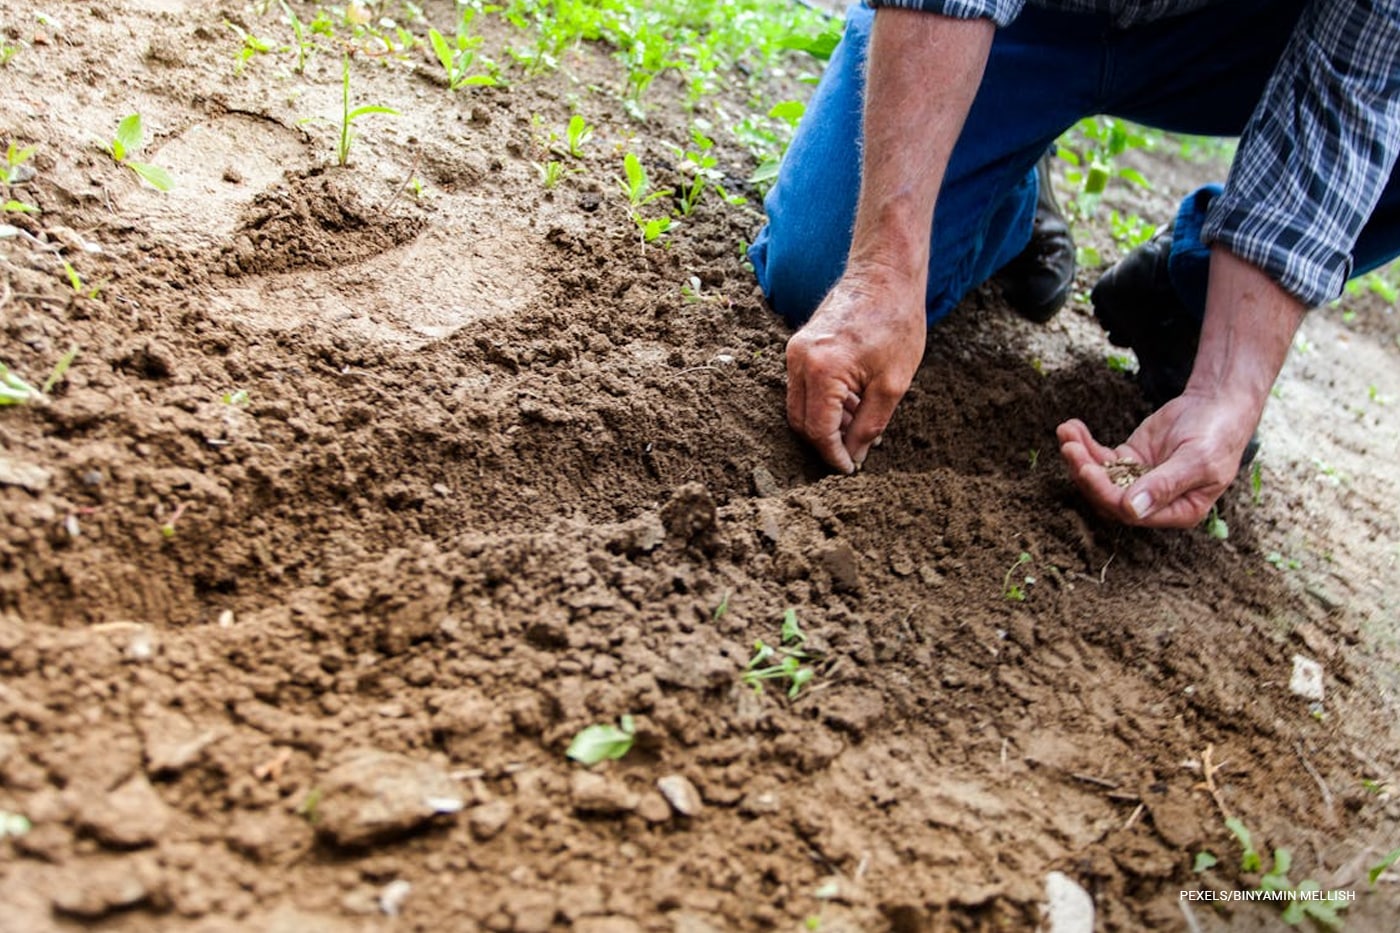
As the growing season comes to a close and your fall harvest fills baskets with the last tomatoes, beans, squashes, and herbs of the year, it’s the perfect time to think ahead to next season. One of the most rewarding—and cost-effective—ways to ensure a thriving garden year after year is by collecting and saving seeds from your own plants. Not only does seed saving give you independence from buying new packets each spring, but it also preserves varieties uniquely adapted to your soil and climate.
Contents []
Why Save Seeds?

- Cost savings: Skip the seed catalog and grow next year’s garden for free.
- Sustainability: Reduce packaging waste and reliance on large-scale seed suppliers.
- Stronger plants: Seeds saved over time become naturally suited to your local growing conditions.
- Preservation of heirlooms: Many older or unique varieties are only kept alive by home gardeners who save and share their seeds.
Best Plants for Beginners
If you’re new to seed saving, start with easy crops that don’t require special techniques:
- Tomatoes – Ferment seeds from ripe fruit for a few days, then dry them.
- Peppers – Simply remove seeds from mature fruits and air-dry.
- Beans & Peas – Let pods dry on the vine, then shell and store.
- Squash & Pumpkins – Scoop out, rinse, and dry seeds from fully ripened fruits.
- Herbs like basil, dill, and cilantro readily produce seeds you can collect.
How to Collect and Prepare Seeds

Seed saving is one of the oldest gardening traditions—and one of the most useful skills you can learn as a home gardener. Not only does it save you money, but it also ensures you’ll always have seeds perfectly suited to your local growing conditions. This guide will walk you through the basics of collecting, preparing, and storing seeds from your fall harvest.
Step 1: Select the Right Plants
- Choose healthy, strong plants. Always collect seeds from your best performers—the ones that resisted pests, produced heavily, and grew vigorously.
- Avoid hybrids. Seeds from hybrid plants often don’t grow true to type. Stick with open-pollinated or heirloom varieties for reliable results.
Step 2: Know When Seeds Are Ready
Different crops mature their seeds in different ways:
- Tomatoes & Peppers: Seeds are ready when the fruit is fully ripe (bright red, orange, or yellow depending on the variety).
- Beans & Peas: Wait until pods are dry, brown, and rattling with hard seeds inside.
- Squash & Pumpkins: Seeds mature inside fruits that are fully ripened and cured.
- Herbs (basil, dill, cilantro, parsley): Collect seeds when flower heads turn brown and dry.
Step 3: Harvest Seeds Properly
- Tomatoes: Scoop seeds into a jar, add a little water, and let sit 2–3 days to ferment. This removes the slimy coating that prevents germination. Rinse and strain seeds before drying.
- Peppers: Cut open the pepper, remove the seeds, and spread them out to dry.
- Beans & Peas: Shell the seeds once pods are completely dry on the plant.
- Squash & Pumpkins: Scoop out seeds, rinse well to remove pulp, and pat dry.
- Herbs: Snip seed heads into a paper bag, shake gently, and collect seeds.
Step 4: Clean and Dry Thoroughly
- Spread seeds in a single layer on a paper towel, plate, or mesh screen.
- Keep them in a cool, dry place with good airflow (not in direct sun).
- Drying usually takes 1–2 weeks depending on seed size.
- Test dryness: seeds should snap or shatter, not bend.
Step 5: Label and Store
- Place seeds in paper envelopes, small jars, or airtight containers.
- Clearly label each packet with:
- Crop name (e.g., “Roma Tomato”)
- Variety
- Date harvested
- Store in a cool, dark, and dry location. A pantry, cupboard, or refrigerator works well. Add silica gel packets or dry rice to absorb extra moisture.
Step 6: Plan for Next Season
- Most seeds last 2–5 years if stored correctly.
- Some (like onions, parsnips, and corn) lose viability more quickly, so plan to plant them the following season.
- Keep a seed-saving journal to track which varieties thrived and which ones are worth saving again.
Pro Tip: Start Small
If this is your first time saving seeds, begin with the easiest crops—tomatoes, beans, peas, and peppers. Once you’re comfortable, you can expand to more advanced crops like corn or biennials (carrots, beets) that need a second growing season to set seed.
Storing Seeds for the Future

The key to long-lasting seeds is cool, dark, and dry conditions. Glass jars, paper envelopes, or airtight containers work well. Add silica packets or rice grains to absorb extra moisture. Store them in a pantry, cupboard, or even the refrigerator. Most seeds will remain viable for 2–5 years, though some (like onions) lose viability more quickly.
A Tradition Worth Keeping
Saving seeds connects you with gardeners across generations. It’s the same practice that allowed ancient farmers to pass down crops we still enjoy today. Each season, as you harvest and save, you’re contributing to a cycle of resilience, abundance, and stewardship of the earth’s biodiversity. Whether you’re growing a small kitchen garden or managing a larger homestead, seed saving is a simple step that makes your harvest even more meaningful. With a little care and organization, this fall’s harvest can become the foundation of next year’s flourishing garden.


